

Table of Contents
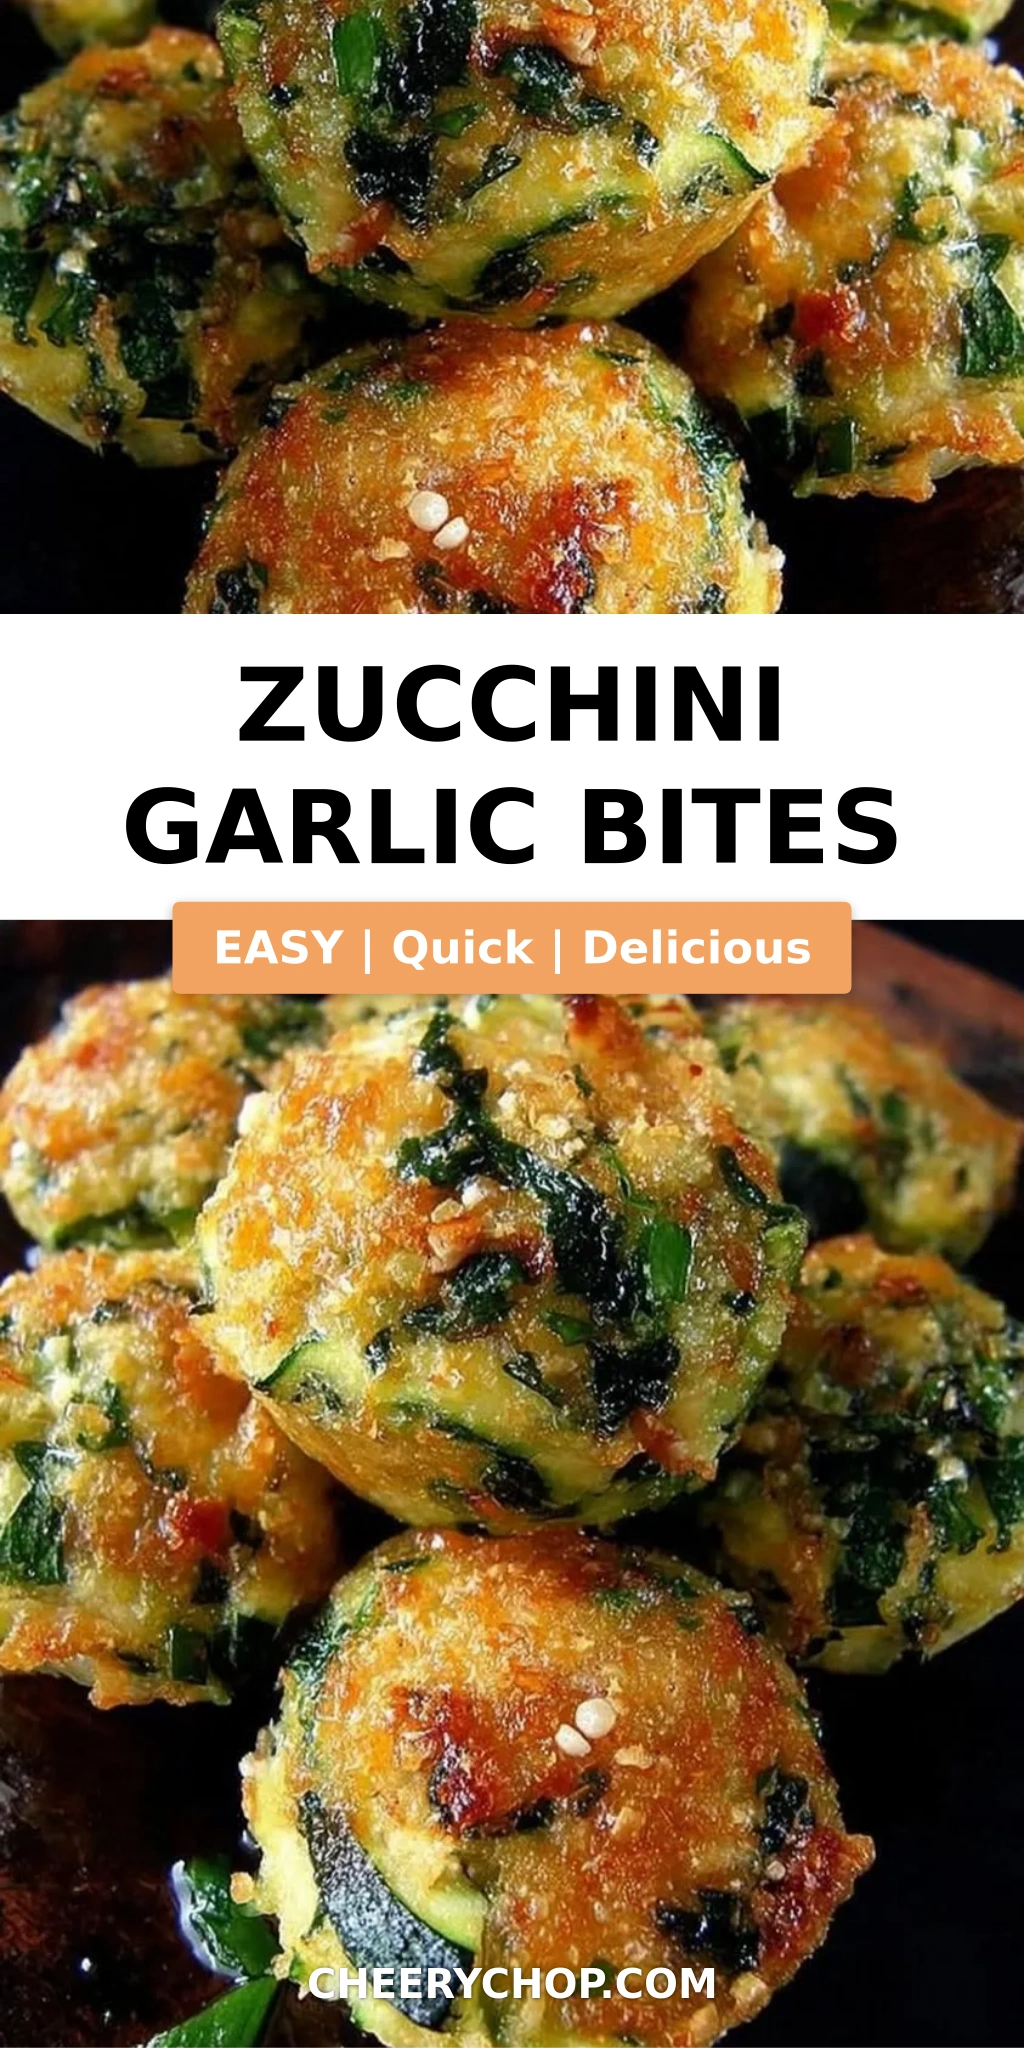
Zucchini Garlic Bites – Crispy, Baked & Irresistible
I still remember the first time I made these zucchini garlic bites. It was a humid August afternoon in my tiny NYC apartment, and I was craving something from my mother’s kitchen in Morocco — something light, flavorful, and utterly satisfying. She used to grate zucchini into everything during the summer months, squeezing every drop of moisture out with her bare hands before mixing it with warm spices and fresh herbs. This zucchini garlic bites recipe is my ode to her resourcefulness and to the French training that taught me how to build flavor with precision. Within the first 100 words, let me tell you: these crispy zucchini bites are a game-changer for anyone looking for healthy zucchini snacks that actually taste indulgent.
The first bite is pure magic — a golden, slightly crunchy exterior gives way to a tender, garlicky, Parmesan-laced center that practically melts on your tongue. The aroma of roasted garlic and toasted breadcrumbs fills your kitchen, while the chives add a subtle oniony brightness that cuts through the richness. These baked zucchini appetizers are anything but bland. They’re golden, craggy, and beautiful on a plate — proof that low-calorie zucchini bites can deliver big, bold flavor without a drop of excess oil. I love serving them straight from the oven, when the edges are still sizzling and the cheese is perfectly melted.
What sets my version apart is the technique I learned at culinary school in Paris: salting and resting the shredded zucchini before squeezing, which draws out maximum moisture and ensures each bite stays crisp, not soggy. I also use a fine Microplane for the garlic so it melts into the mixture rather than leaving harsh chunks. Whether you’re a seasoned cook or a complete beginner, this recipe is forgiving, fast, and foolproof. One common mistake people make is skipping the moisture-squeezing step — don’t do it! I’ll show you exactly how to avoid a soggy outcome. From my NYC kitchen to yours, let’s make these irresistible zucchini garlic bites together.
Why This Zucchini Garlic Bites Recipe Is the Best
The Flavor Secret
The magic lies in the combination of nutty Parmigiano-Reggiano, aromatic fresh garlic, and the subtle earthiness of chives. This isn’t just a random mix — it’s a trio I perfected during my time in Paris, where we learned that every ingredient must earn its place. The Parmesan provides umami depth while the garlic adds a gentle heat that mellows beautifully in the oven. Fresh chives bring a delicate onion note that keeps each bite bright. Together, they transform humble zucchini into something you’d happily serve at a dinner party.
Perfected Texture
Texture is everything when it comes to zucchini bites, and I’ve tested this recipe more times than I can count to get it just right. The key is a two-step moisture-control process: first, salting the shredded zucchini and letting it rest for 10 minutes, then squeezing it firmly in a clean kitchen towel. This removes the excess liquid that would otherwise turn your bites into sad, soggy discs. Paired with the right ratio of breadcrumbs to egg, the result is a tender interior with a beautifully crisp, golden-brown crust every single time.
Foolproof & Fast
I designed this recipe for busy weeknights and last-minute entertaining. With just 10 minutes of prep and 18 minutes in the oven, you can have a platter of warm, satisfying bites on the table before you’ve even finished pouring the wine. No deep-frying, no complicated steps, and no special equipment. Even if you’ve never cooked with zucchini before, the detailed instructions and pro tips below will guide you to crispy, golden perfection on your very first try.
Zucchini Garlic Bites Recipe Ingredients
I source my zucchini from the Union Square Greenmarket in Manhattan during the summer months — the smaller ones are sweeter and less watery. In Morocco, my mother would pick them straight from the garden, still warm from the sun. For this zucchini garlic bites recipe, fresh, firm zucchini makes all the difference. Here’s exactly what you’ll need.
Ingredients List
- 1 cup shredded zucchini, drained well (about 1 medium zucchini)
- 1 clove garlic, grated fine (use a Microplane for best results)
- 1/3 cup breadcrumbs (plain or panko — both work well)
- 1/4 cup grated Parmigiano-Reggiano cheese (freshly grated, not the canned stuff)
- 1 large egg, lightly beaten
- 2 tablespoons chopped fresh chives (or 1 tablespoon dried chives)
- Salt and freshly ground black pepper, to taste
Ingredient Spotlight
Zucchini: The star of the show. Look for medium-sized zucchini (about 6–7 inches long) that feel heavy for their size and have glossy, unblemished skin. Larger zucchini tend to be watery and seedy, so I avoid those. One medium zucchini yields roughly 1 cup of shredded flesh. If you only have large ones, scoop out the seeds before shredding.
Parmigiano-Reggiano: Please splurge on the real thing. The granular texture and nutty, salty flavor of authentic Parmigiano-Reggiano is irreplaceable in this recipe. Pre-shredded cheese contains anti-caking agents that won’t melt as smoothly. I buy a small wedge from Murray’s Cheese in NYC and grate it fresh — it takes two minutes and changes everything.
Breadcrumbs: Plain breadcrumbs give a tender, uniform crumb, while panko creates a slightly crunchier texture. Both work beautifully. I use plain homemade breadcrumbs from stale sourdough when I have them on hand. For a gluten-free version, use certified gluten-free breadcrumbs — the texture remains excellent.
Fresh chives: These delicate herbaceous stems add a gentle onion flavor without overpowering the garlic. If you can’t find fresh chives, dried chives work fine — use half the amount since dried herbs are more concentrated. I grow chives in a pot on my fire escape in NYC, and they come back every spring without fail.
| Original Ingredient | Best Substitution | Flavor / Texture Impact |
|---|---|---|
| Parmigiano-Reggiano | Pecorino Romano or Grana Padano | More salty and sharp; use slightly less |
| Breadcrumbs (regular) | Panko breadcrumbs or gluten-free breadcrumbs | Panko gives crunchier crust; GF works perfectly |
| Fresh chives | Green onion (scallion) tops or dried chives | Slightly stronger onion flavor; use less |
| Large egg | Flax egg (1 tbsp flax meal + 3 tbsp water) | Slightly less binding; handle gently |
How to Make Zucchini Garlic Bites — Step-by-Step
Trust me — if you can shred a zucchini and stir a bowl, you can make these. Here’s exactly how to do it, with all the little tricks I’ve learned from years of testing in my NYC kitchen.
Step 1: Preheat and Prep
Preheat your oven to 400°F (200°C). Line a large baking sheet with parchment paper — this prevents sticking and makes cleanup effortless. While the oven heats, wash your zucchini and trim off the ends. Using a box grater or the shredding disk of a food processor, shred the zucchini into a bowl. Sprinkle with a generous pinch of salt and let it sit for 10 minutes. This draws out the moisture that would otherwise make your bites soggy.
💡 Sara’s Pro Tip: Place the shredded zucchini in a fine-mesh strainer set over a bowl while it rests. The salt will pull out liquid, and the strainer keeps it from pooling around the zucchini.
Step 2: Mix the Batter
After 10 minutes, transfer the salted zucchini to a clean kitchen towel or a double layer of cheesecloth. Gather the edges and twist firmly to squeeze out as much liquid as you can — you’ll be amazed how much comes out. In a large bowl, combine the squeezed zucchini, grated garlic, breadcrumbs, Parmigiano-Reggiano, beaten egg, and chives. Mix with a fork until everything is evenly incorporated. The mixture should hold together when pressed between your fingers.
⚠️ Common Mistake to Avoid: Don’t skip the squeezing step! Even if you think you’ve squeezed enough, squeeze one more time. Excess moisture is the #1 reason zucchini bites turn out soggy instead of crispy.
Step 3: Shape the Bites
Using slightly damp hands (this prevents sticking), scoop about 1 tablespoon of the mixture and roll it into a smooth ball or shape it into a small patty about 1 inch wide. Place each piece on the prepared baking sheet, spacing them about 1 inch apart. You should get about 12 bites. If you prefer a more uniform shape, use a small cookie scoop — it makes the process faster and gives you evenly sized bites that cook at the same rate.
💡 Sara’s Pro Tip: Lightly oil your hands with a drop of olive oil before shaping. It keeps the mixture from sticking and adds a touch of extra crispiness to the outside.
Step 4: Bake to Perfection
Place the baking sheet on the center rack of your preheated oven. Bake for 15–18 minutes, rotating the sheet halfway through, until the bites are golden brown on the bottom and edges, and feel firm to the touch. The tops should be lightly browned and slightly craggy. Every oven is a little different, so start checking at the 15-minute mark. If you want extra color, you can switch the oven to broil for the last 1–2 minutes — but watch carefully so they don’t burn.
⚠️ Common Mistake to Avoid: Don’t overcrowd the baking sheet. If the bites are too close together, they’ll steam instead of bake, and you’ll lose that beautiful crispy exterior. Use two sheets if needed.
Step 5: Cool and Serve
Remove the baking sheet from the oven and let the bites rest on the pan for 3–5 minutes. This allows them to set and firm up slightly — they’re delicate right out of the oven. Use a spatula to transfer them to a serving platter. Serve warm, with your favorite dipping sauce on the side. I love them with a simple Greek yogurt and lemon dip, but they’re also fantastic on their own.
💡 Sara’s Pro Tip: For an extra-crisp finish, let the bites cool on a wire rack instead of the pan. Air circulation keeps the bottoms from steaming and getting soft.
| Step | Action | Duration | Key Visual Cue |
|---|---|---|---|
| 1 | Preheat oven and prep zucchini | 10 min rest | Liquid pools in bowl under zucchini |
| 2 | Mix all ingredients | 2 min | Mixture holds together when pressed |
| 3 | Shape into bites | 3 min | Uniform 1-inch balls or patties |
| 4 | Bake | 15–18 min | Golden brown, firm to touch |
| 5 | Cool slightly and serve | 3–5 min rest | Bites hold shape when lifted |
Serving & Presentation
These zucchini garlic bites are incredibly versatile. I love arranging them on a rustic wooden board with a small bowl of lemony yogurt sauce for dipping — the cool, tangy creaminess is a beautiful contrast to the warm, crispy bites. For an extra touch, scatter a handful of fresh chive blossoms or microgreens over the top. The green against the golden brown is stunning on any table, from a casual weeknight dinner to a holiday gathering.
In my NYC apartment, I often serve them alongside a simple arugula salad with lemon vinaigrette and shaved Parmesan. The peppery greens cut through the richness of the bites perfectly. When I’m feeling nostalgic for Morocco, I pair them with a harissa-spiced yogurt sauce and warm pita bread. They also make fantastic sliders — tuck two or three bites into a soft dinner roll with a smear of garlic aioli and a slice of tomato.
For cocktail parties, I arrange the bites on a platter with toothpicks and serve them with a trio of dipping sauces: classic marinara, herbaceous green goddess, and smoky roasted red pepper dip. They disappear within minutes every single time. Whether you’re hosting a Super Bowl party or just looking for a healthy after-school snack for the kids, these bites always deliver.
| Pairing Type | Suggestions | Why It Works |
|---|---|---|
| Side Dish | Arugula salad, roasted vegetables, or couscous | Light sides balance the richness of the bites |
| Sauce / Dip | Greek yogurt + lemon, marinara, or harissa aioli | Tangy or spicy dips complement the garlic-Parmesan base |
| Beverage | Crisp white wine (Sauvignon Blanc), light beer, or mint iced tea | Clean, acidic drinks cut through the richness |
| Garnish | Fresh chives, microgreens, lemon zest, or edible flowers | Adds color, freshness, and visual appeal |
Make-Ahead, Storage & Reheating
As a busy food blogger in NYC, I rely on make-ahead recipes that work with my schedule. These zucchini garlic bites are perfect for meal prep. You can assemble the mixture, shape the bites, and refrigerate them for up to 24 hours before baking. If you’re really planning ahead, freeze the unbaked bites on a baking sheet, then transfer them to a freezer bag — they’ll keep for up to 3 months and bake straight from frozen (just add 3–5 minutes to the cooking time).
| Method | Container | Duration | Reheating Tip |
|---|---|---|---|
| Refrigerator | Airtight container in single layer | Up to 4 days | Reheat in a 350°F oven for 5–7 min to restore crispness |
| Freezer (baked) | Freezer bag or airtight container with parchment layers | Up to 3 months | Reheat directly from frozen at 375°F for 10–12 min |
| Make-Ahead | Covered baking sheet or plate | Up to 24 hours in advance | Bake directly from fridge; add 2 min to cook time |
My favorite way to reheat leftovers is in a 350°F oven for about 5–7 minutes — the oven brings back the crispy exterior much better than a microwave. If you’re in a rush, an air fryer at 350°F for 3–4 minutes works beautifully too. I don’t recommend microwaving, as it softens the bites considerably. When I meal-prep these for the week, I bake a full batch on Sunday, then reheat individual portions as needed. They’re a lifesaver for busy weeknights.
Variations & Easy Swaps
One of the things I love most about this recipe is how adaptable it is. Over the years, I’ve created countless variations — some inspired by my Moroccan heritage, others by the seasonal produce I find at the Union Square farmers market. Here are three of my favorites.
| Variation | Key Change | Best For | Difficulty Impact |
|---|---|---|---|
| Moroccan-Spiced | Add cumin, coriander, and a pinch of cinnamon | Aromatic, warming, exotic flavor profile | Easy — just add spices |
| Gluten-Free & Dairy-Free | Use GF breadcrumbs and omit Parmesan (or use vegan cheese) | Dietary restrictions, allergen-friendly | Easy — simple swap |
| Summer Herb & Lemon | Add lemon zest, fresh dill, and parsley | Bright, fresh, spring/summer entertaining | Easy — just add herbs |
Moroccan-Spiced Version
This is the version my mother would make. Add 1/2 teaspoon ground cumin, 1/4 teaspoon ground coriander, and a pinch of cinnamon to the mixture. The warm, earthy spices complement the garlic and Parmesan beautifully, and the cinnamon adds a subtle sweetness that makes these bites truly unforgettable. Serve with a harissa-yogurt dip for an authentic North African experience. I especially love making this version in the fall when the weather turns cool.
Gluten-Free & Dairy-Free
For my friends with dietary restrictions, this variation is tested and approved. Substitute the breadcrumbs with certified gluten-free breadcrumbs (I like the ones from Ian’s or Aleia’s). For the dairy-free version, omit the Parmesan and add 2 tablespoons of nutritional yeast plus an extra tablespoon of breadcrumbs to maintain the right texture. The nutritional yeast delivers a cheesy, umami flavor that’s remarkably close to the original. I’ve served this version at parties, and no one could tell the difference.
Summer Herb and Lemon Twist
When I find beautiful fresh herbs at the NYC farmers market in summer, I go all in. Add 1 teaspoon of finely grated lemon zest, 1 tablespoon of fresh chopped dill, and 1 tablespoon of fresh chopped parsley to the mixture. The lemon zest brightens every bite, while the dill and parsley add a garden-fresh flavor that’s especially wonderful with seafood or grilled chicken. I serve these with a simple lemon aioli and a glass of chilled Sauvignon Blanc for the ultimate summer appetizer.
How do you get zucchini garlic bites to stay crispy and not soggy?
The single most important step for crispy zucchini garlic bites is removing as much moisture as possible from the shredded zucchini before mixing. Start by salting the shredded zucchini and letting it rest for 10 minutes — this draws out excess liquid through osmosis. Then transfer the zucchini to a clean kitchen towel or a double layer of cheesecloth and squeeze firmly until no more liquid drips out. Don’t be shy; you want it really dry. Additionally, baking at a high temperature of 400°F on a parchment-lined sheet allows the moisture that does remain to evaporate quickly rather than steaming the bites. Avoid overcrowding the pan, which traps steam, and let the bites cool on a wire rack after baking to keep the bottoms crisp.
Can you make zucchini garlic bites without breadcrumbs?
Yes, you can absolutely make zucchini garlic bites without breadcrumbs, and there are several excellent alternatives. Almond flour or almond meal works beautifully — use 1/4 cup in place of the 1/3 cup breadcrumbs, as almond flour is denser and more absorbent. Crushed pork rinds (pork panko) are a popular low-carb, keto-friendly option that delivers a similar crispy texture. You can also use finely ground oats (gluten-free if needed) or crushed crackers like rice crackers or seed crackers. Each substitute will slightly alter the flavor and texture: almond flour adds a nutty richness, pork rinds are neutral and extra crispy, and oats give a heartier, more rustic crumb. The key is to add the substitute gradually until the mixture holds together when pressed.
What is the best way to squeeze out moisture from zucchini for these bites?
After testing many methods in my kitchen, I’ve found the most effective technique is a two-step process. First, shred the zucchini and toss it with a generous pinch of salt in a fine-mesh strainer set over a bowl. Let it sit for 10 minutes — the salt draws out moisture through osmosis, and you’ll see liquid collecting in the bowl. Second, transfer the salted zucchini to a clean, thin kitchen towel (not a terry cloth towel, which absorbs too much zucchini flesh) or a double layer of cheesecloth. Gather the corners and twist firmly over the sink, applying pressure for about 30 seconds. You’ll be shocked at how much liquid comes out. For the best results, you can also give it one final squeeze with your hands after the towel method. This double-squeeze technique is the secret to perfectly crispy zucchini bites every time.
How long do you bake zucchini garlic bites and at what temperature?
Bake zucchini garlic bites at 400°F (200°C) for 15–18 minutes. This high temperature is crucial for creating a crispy, golden-brown exterior while cooking the interior through without drying it out. I recommend preheating your oven fully and placing the baking sheet on the center rack for even heat distribution. Rotate the sheet halfway through (at about the 8-minute mark) to ensure all the bites brown evenly. Start checking at the 15-minute mark — the bites are done when they’re deep golden brown on the bottom and edges, and feel firm when gently pressed with a finger. If your bites are on the smaller side, they may be done closer to 15 minutes; larger bites might need the full 18 minutes. For an extra-crispy finish, you can switch the oven to broil for the last 60–90 seconds, but watch them carefully to prevent burning.
Can I use frozen zucchini for this recipe?
Yes, you can use frozen zucchini, but there are a few important steps to follow. Frozen zucchini contains even more water than fresh, so thaw it completely in a colander set over a bowl, then squeeze out the moisture using a kitchen towel — you’ll need to be extra thorough. I recommend thawing the zucchini overnight in the refrigerator, then pressing it firmly in a towel to remove the excess liquid. One advantage of frozen zucchini is that the freezing process breaks down some of the cell walls, which can actually help it blend more smoothly into the mixture. However, the texture of the final bites may be slightly softer than those made with fresh zucchini. If you’re using frozen, I suggest adding an extra tablespoon of breadcrumbs to help absorb any remaining moisture and maintain a firmer texture.
What dipping sauces go best with zucchini garlic bites?
These zucchini garlic bites pair beautifully with a wide range of dipping sauces. My absolute favorite is a simple Greek yogurt and lemon sauce: mix 1/2 cup plain Greek yogurt with 1 tablespoon fresh lemon juice, 1 teaspoon lemon zest, and a pinch of salt and pepper. The cool, tangy creaminess is a perfect contrast to the warm, crispy, garlicky bites. For a Mediterranean twist, try a tzatziki sauce or a roasted red pepper dip. If you like heat, a harissa-spiked aioli or sriracha mayo adds a wonderful kick. Classic marinara sauce is always a hit, especially with kids. For something bright and herbaceous, blend fresh basil, parsley, olive oil, and a touch of garlic into a green goddess-style dip. The bites are also delicious on their own, so don’t feel pressured to serve a sauce — they’re packed with flavor as is.
Are zucchini garlic bites healthy and low in calories?
Yes, these zucchini garlic bites are a fantastic healthy snack option. Each serving (about 3 bites) contains approximately 110 calories, 7 grams of protein, 12 grams of carbohydrates, and 5 grams of fat, with only 2 grams of sugar. They’re baked, not fried, which significantly reduces the fat content compared to traditional fried appetizers. Zucchini is low in calories and high in water content, vitamins C and A, and antioxidants. The Parmesan cheese adds calcium and protein, while the egg provides additional high-quality protein. For a lower-carb version, you can substitute almond flour for the breadcrumbs. These bites are also naturally vegetarian and can easily be made gluten-free and dairy-free with simple substitutions. They’re a wonderful way to incorporate more vegetables into your diet in a delicious, satisfying form that doesn’t feel like you’re eating healthy.
Can I make these zucchini garlic bites ahead for a party?
Absolutely! These bites are ideal for party prep. You have two great options: you can fully bake them 1–2 days in advance and reheat just before serving, or you can prepare the mixture and shape the bites up to 24 hours ahead, then bake them fresh on the day of your party. For the make-ahead-and-bake-later method, arrange the shaped bites on a parchment-lined baking sheet, cover tightly with plastic wrap, and refrigerate. When you’re ready to serve, bake them straight from the fridge, adding 2–3 minutes to the cooking time. If you’re baking in advance, cool the bites completely, then store them in an airtight container in the refrigerator for up to 4 days. Reheat them in a 350°F oven for 5–7 minutes to restore crispness. You can also freeze the unbaked bites on a baking sheet, transfer them to a freezer bag, and bake straight from frozen — just add 3–5 minutes to the cooking time.
What can I use instead of Parmesan cheese in this recipe?
If you don’t have Parmigiano-Reggiano on hand or need a dairy-free option, several substitutes work well. Pecorino Romano is the closest substitute — it’s also a hard, aged Italian cheese with a similar granular texture, though it’s saltier and slightly more pungent, so use a little less. Grana Padano is another excellent option with a milder, more buttery flavor. For a dairy-free alternative, nutritional yeast is my top pick; use 2 tablespoons plus an additional tablespoon of breadcrumbs to compensate for the lost bulk. Nutritional yeast delivers a cheesy, umami flavor that’s remarkably convincing. You can also use vegan Parmesan-style shreds (brands like Violife or Follow Your Heart work well), though they tend to be less flavorful than dairy Parmesan. If you simply need to avoid Parmesan due to preference, you can omit it entirely and add an extra tablespoon of breadcrumbs plus a pinch of salt to maintain the right texture.
How do I store leftover zucchini garlic bites and keep them crispy?
To store leftover zucchini garlic bites while maintaining as much crispness as possible, first let them cool completely on a wire rack — this prevents steam from getting trapped and softening the crust. Once cool, place them in a single layer in an airtight container lined with paper towels. The paper towels help absorb any residual moisture. Add another layer of paper towels on top before sealing the container. Store in the refrigerator for up to 4 days. When you’re ready to reheat, avoid the microwave at all costs — it will make them soggy. Instead, reheat them in a 350°F oven for 5–7 minutes, or in an air fryer at 350°F for 3–4 minutes. Both methods restore the crispy exterior beautifully. If you’re reheating from frozen, add a few extra minutes. For best results, arrange them in a single layer on a baking sheet rather than piling them on top of each other during reheating.
Share Your Version!
I absolutely love hearing how you make these zucchini garlic bites your own. Did you try the Moroccan-spiced version with cumin and cinnamon? Or maybe you went all in with the summer herb and lemon twist? Drop a star rating and a comment below — your feedback helps other readers discover their favorite variation too. If you post a photo on Instagram or Pinterest, be sure to tag @cheerychop so I can see your beautiful creations and share them with our community. And here’s a question I’d love for you to answer: What dipping sauce did you pair with your bites, and how did it turn out? Your answer might just inspire someone else’s dinner tonight.
From my NYC kitchen to yours — I hope this recipe brings as much warmth to your table as it does to mine. — Sara 🧡
Love This Recipe? Save It to Pinterest!
If you enjoyed this Zucchini Garlic Bites recipe, don’t let it get lost in your browser tabs! 😄 Pin it now so you can find it again anytime — and explore hundreds more tried-and-tested recipes waiting for you on my Pinterest boards.
👉 Follow Sara on Pinterest @chefrecipes2
📌 Pin this recipe · 🔁 Re-pin your favorites · 💬 Tag me when you make it — I love seeing your creations!
Zucchini Garlic Bites

Delicious crunchy zucchini bites with garlic and Parmesan.
- Prep Time: 10 minutes
- Cook Time: 18 minutes
- Total Time: 28 minutes
- Yield: 4 servings (about 12 bites) 1x
- Method: Appetizer
- Cuisine: American
Ingredients
- 1 cup shredded zucchini, drained well
- 1 clove garlic, grated fine
- 1/3 cup breadcrumbs
- 1/4 cup grated Parmigiano-Reggiano cheese
- 1 large egg
- 2 tablespoons chopped fresh chives (or 1 tablespoon dried chives)
Instructions
- Preheat oven to 400°F (200°C). Line a baking sheet with parchment paper.
- In a large bowl, combine shredded zucchini, garlic, breadcrumbs, Parmesan cheese, egg, and chives. Mix well.
- Shape the mixture into bite-sized balls or patties and place on the prepared baking sheet.
- Bake for 15-18 minutes until golden brown and firm.
- Remove from oven and let cool slightly before serving.
Notes
For gluten-free option, use gluten-free breadcrumbs. Squeeze shredded zucchini well to remove excess moisture.
Nutrition
- Calories: 110 kcal
- Sugar: 2 g
- Fat: 5 g
- Carbohydrates: 12 g
- Protein: 7 g
Tried This Recipe? Leave a Comment!
Did you make this recipe? I’d love to hear how it turned out! Please leave a comment and a rating below. Your feedback helps other home cooks and supports cheerychop.com!
For more delicious inspiration, follow me on Pinterest!


