
“`html
Table of Contents
Green Olive Dip Recipe – A Zesty Greek-Inspired Mediterranean Appetizer
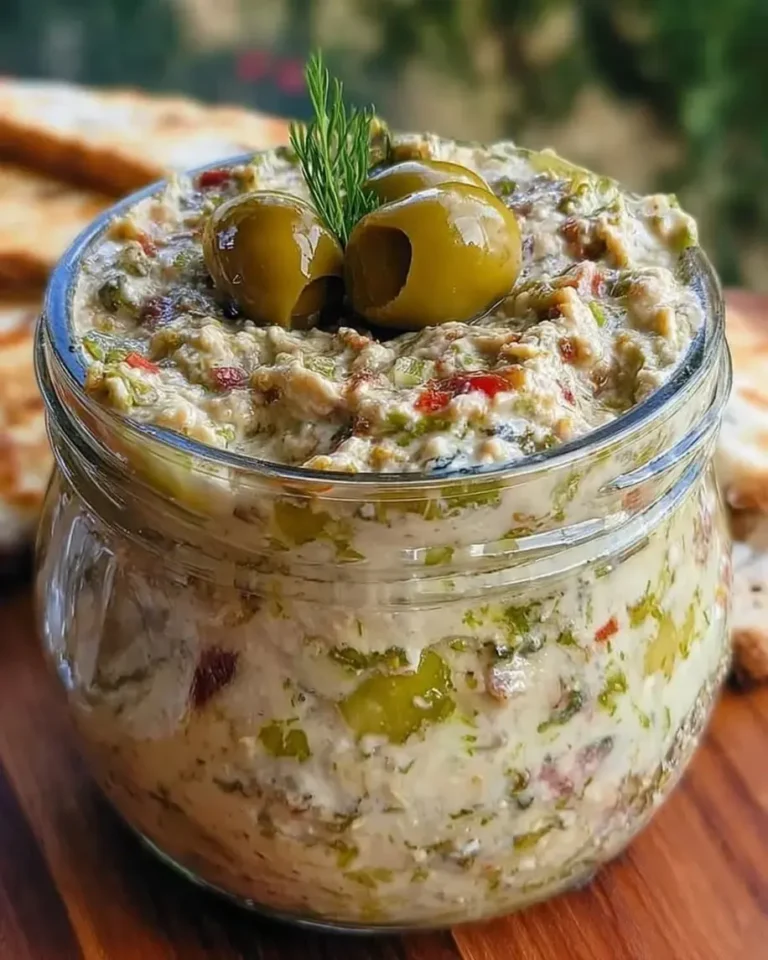
I still remember the first time I tasted a truly great green olive dip. It was at a tiny seaside taverna on the Greek island of Paros, where the owner brought out a bowl of this vibrant, herby spread alongside warm pita and a plate of olives. One bite and I was hooked — the briny punch of green olives, the bright pop of lemon, the grassy undertone of good olive oil. That moment stayed with me, and when I returned to my New York City kitchen, I knew I had to recreate it. This green olive dip recipe is my love letter to that afternoon by the Aegean — a zesty, Greek-inspired appetizer that comes together in just five minutes and delivers layers of Mediterranean flavor in every single bite. Whether you call it a green olive appetizer, a Mediterranean olive dip, or an easy olive spread, this one is destined to become a staple in your entertaining rotation.
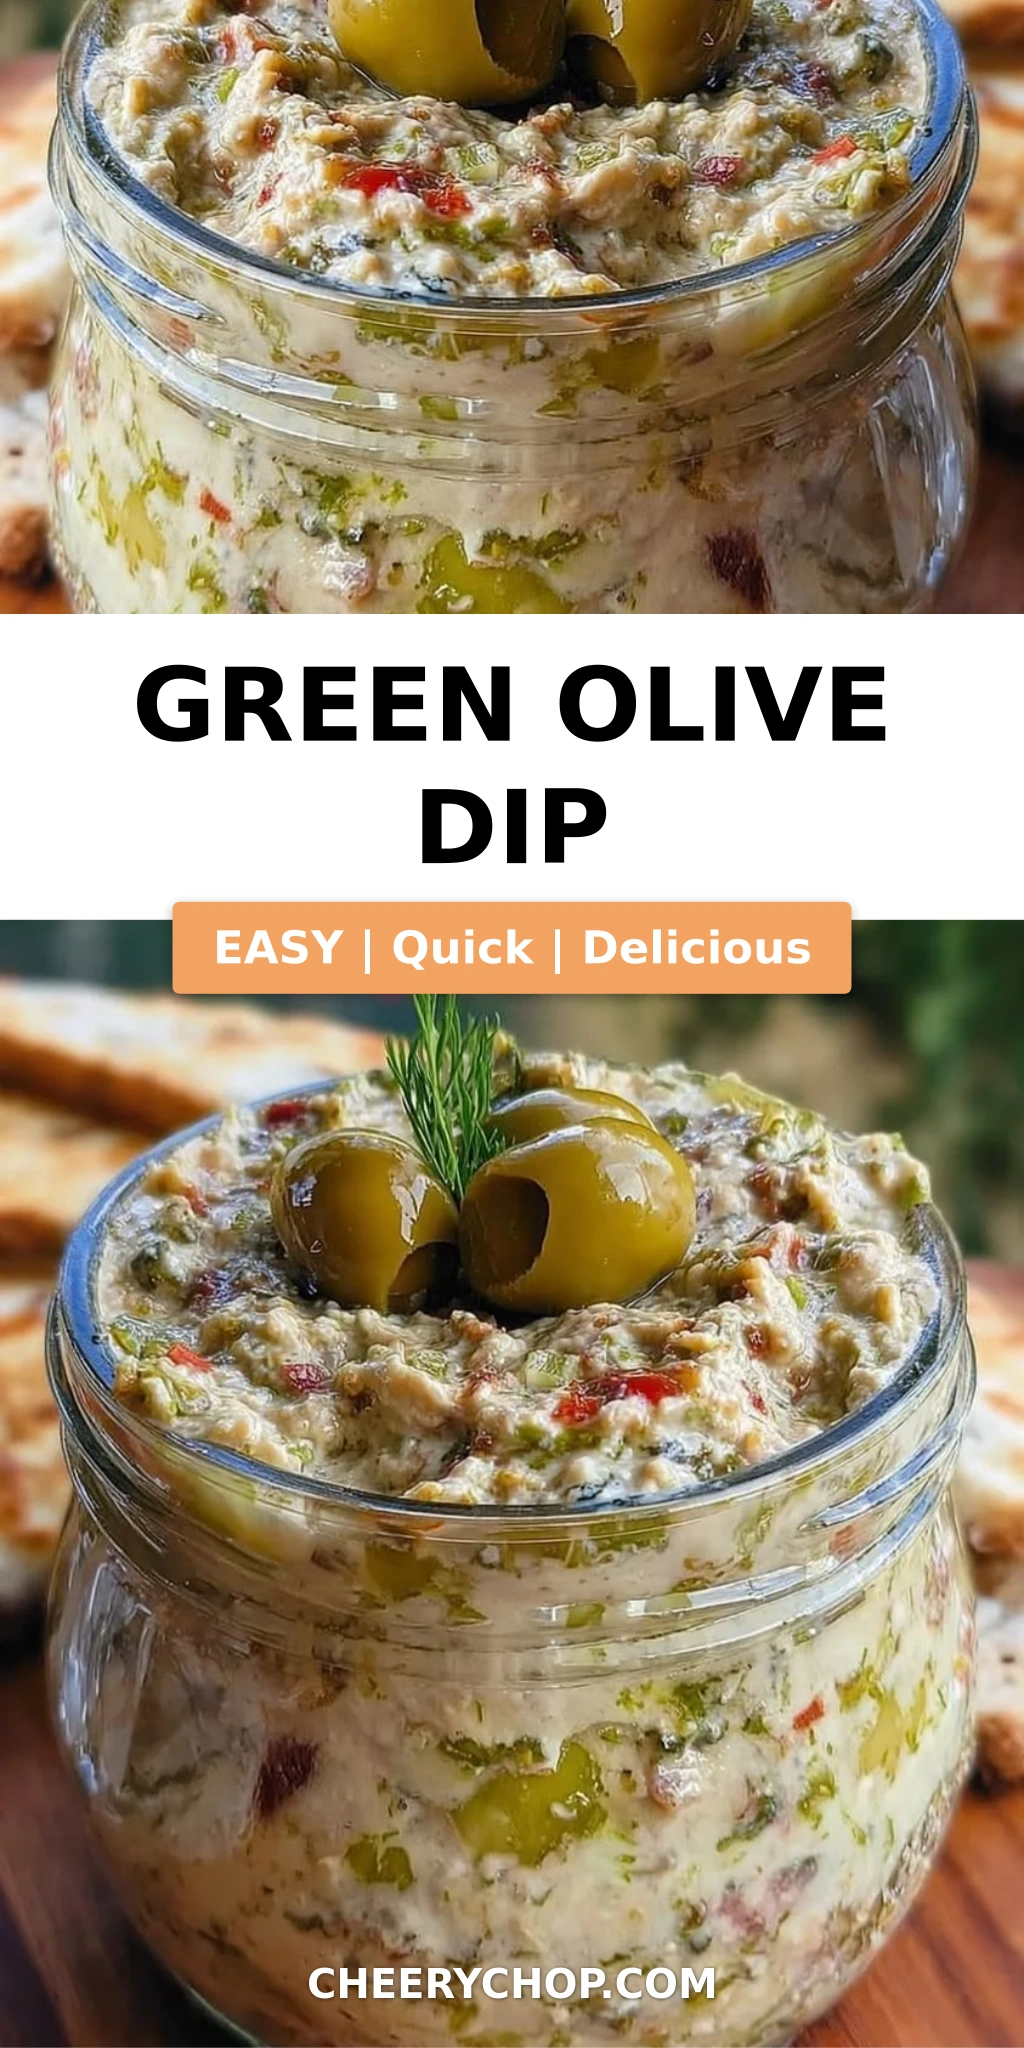
What I adore about this green olive dip recipe is the way the flavors dance together. The olives bring a salty, slightly tangy backbone; the capers add an extra briny kick that makes you take notice; the garlic whispers warmth in the background; and the lemon — both zest and juice — cuts through everything with a citrusy brightness that keeps you coming back for more. Fresh parsley adds an herbal lift, while the extra-virgin olive oil ties it all together into a silky, spoonable spread. The texture is wonderfully rustic — coarsely chopped, never completely smooth, so every mouthful has little pops of olive and caper. It’s the kind of dip that feels both luxurious and effortlessly simple, the kind you set out at a party and watch disappear before the first round of drinks is finished.
I’ve made this Greek tapenade-style dip countless times since that trip to Paros, tweaking and perfecting it until it hit exactly the right balance. My version stays true to its Mediterranean roots but carries a little of my own culinary signature — a French-trained respect for letting each ingredient shine, and a Moroccan-born love for bold, assertive flavors. One thing I learned in pastry school in Paris that applies here: when you’re working with a short list of ingredients, every single one matters. Use the best olives you can find, a good-quality olive oil, and fresh herbs. I’ll share my favorite pro tip for getting the perfect texture, plus the one mistake I see home cooks make most often when making olive dips. By the end of this post, you’ll have a foolproof green olive dip recipe that will transport your taste buds straight to the Mediterranean.
Why This Green Olive Dip Recipe Is the Best
The Flavor Secret — Most olive dips rely solely on olives and oil, which can taste one-dimensional. My version layers three sources of briny depth — green olives, capers, and a touch of lemon zest — then lifts everything with fresh parsley and a hit of raw garlic. This builds a complex, multi-dimensional flavor profile that tastes like it spent hours developing, when really it took five minutes. The lemon juice brightens and balances the saltiness, so the dip tastes vibrant rather than heavy. It’s the same principle I learned in Paris: acidity is the secret weapon that makes rich foods sing.
Perfected Texture — The key to a great olive dip is texture: you want it spreadable but not pasty, cohesive but with visible pieces of olive and herb. My technique is to pulse rather than puree, scraping down the sides of the food processor once or twice to ensure everything is evenly distributed without turning into a smooth paste. This gives you that rustic, hand-chopped feel that makes the dip feel artisanal. I also add the olive oil in a slow stream while pulsing, which helps emulsify the mixture just enough to make it creamy without losing its character.
Foolproof & Fast — This is genuinely one of the easiest recipes in my repertoire. No cooking, no complicated techniques, no obscure ingredients. You can have it on the table in the time it takes to toast pita chips. It’s forgiving, too — swap an herb, adjust the garlic to your taste, add a pinch of red pepper flakes if you want heat. The recipe works every single time, which is why I teach it in my beginner cooking classes here in NYC. It’s the perfect gateway recipe for anyone who thinks they can’t cook from scratch.
Green Olive Dip Recipe Ingredients
I source most of my Mediterranean ingredients from the food stalls at the Union Square Greenmarket and a little specialty shop in Astoria called Mediterranean Pantry. There’s something magical about picking up a jar of briny green olives from a vendor who remembers your name — it reminds me of the souk in Marrakech where my mother would buy olives by the handful. For this green olive appetizer, quality matters, but you don’t need anything fancy. Here’s your shopping list.
Ingredients List
- 1 cup green olives, pitted
- 2 tablespoons capers, drained
- 2 cloves garlic, minced
- 1/2 teaspoon lemon zest
- 2 tablespoons fresh lemon juice
- 1/4 cup fresh parsley leaves
- 1/4 cup extra-virgin olive oil
Ingredient Spotlight
Green Olives — The backbone of this dip. Look for brined green olives like Manzanilla, Cerignola, or Castelvetrano. Castelvetranos are my personal favorite for this recipe because they’re buttery, mild, and slightly sweet, which makes the dip approachable even for olive skeptics. If you prefer a punchier, more assertive flavor, go with Manzanilla or Picholine olives. Always taste your olives before using — if they’re excessively salty, give them a quick rinse and pat dry.
Capers — These tiny pickled flower buds deliver a concentrated briny pop that elevates the entire dip. I prefer salt-packed capers (soaked and rinsed) for their deeper flavor, but jarred capers in brine work beautifully too. If you’re not a caper fan, you can reduce the amount to 1 tablespoon or substitute with chopped green olive — but I urge you to try them first. They’re the secret ingredient that makes this dip taste like it came from a Greek grandmother’s kitchen.
Fresh Parsley — Flat-leaf (Italian) parsley is non-negotiable here. It has a cleaner, more herbaceous flavor than curly parsley and blends into the dip without becoming bitter. The parsley adds freshness and color, balancing the briny, rich notes of the olives and oil. I always add the leaves whole to the food processor — no need to chop them first, which saves time and keeps the flavor bright.
Extra-Virgin Olive Oil — Use a good-quality, fruity extra-virgin olive oil that you enjoy drinking on its own. This is not the time for the cheap stuff. A grassy, peppery oil from Greece or California will make your dip sing. I like the Koroneiki variety from Crete — it has a peppery finish that stands up beautifully to the olives and garlic.
| Original Ingredient | Best Substitution | Flavor / Texture Impact |
|---|---|---|
| Green Olives | Kalamata olives (rinsed) | Darker, more intense, less buttery — still delicious but bolder |
| Capers | Chopped green peppercorns in brine | Less briny, more floral and slightly spicy |
| Fresh Parsley | Fresh cilantro or fresh mint | Cilantro gives a brighter, almost citrusy note; mint adds cool freshness |
| Lemon Juice | White wine vinegar or sherry vinegar | More acidic, less bright — use 1 tablespoon to start and adjust |
How to Make Green Olive Dip — Step-by-Step
Trust me when I say this is one of the easiest recipes you’ll ever make. If you can operate a food processor, you can make this Mediterranean olive dip with your eyes closed. But a few small techniques make all the difference between a good dip and a great one. Let me walk you through each step so your green olive dip recipe turns out perfect every time.
Step 1: Combine All Ingredients
Add the pitted green olives, drained capers, minced garlic, lemon zest, fresh lemon juice, and parsley leaves to the bowl of a food processor fitted with the blade attachment. Pour the extra-virgin olive oil over the top. Don’t worry if the ingredients look haphazard — the food processor will bring everything together. I like to add the parsley leaves whole (stems removed) because they blend perfectly without any extra prep work.
💡 Sara’s Pro Tip: Make sure your olives are fully pitted before adding them. A stray pit can damage your food processor blade and ruin the dip. I always run my fingers through the olives after buying them to double-check — it takes ten seconds and saves a headache.
Step 2: Pulse Until Coarsely Chopped
Pulse the mixture in short bursts — about 5 to 8 pulses — stopping to scrape down the sides of the bowl with a rubber spatula after every few pulses. You want the dip to be coarsely chopped, not smooth. Think of the texture of a classic tapenade: visible pieces of olive and herb, with a cohesive but not pasty consistency. If you over-process, you’ll end up with a thin paste that lacks the satisfying rustic texture.
⚠️ Common Mistake to Avoid: Running the food processor continuously instead of pulsing. This creates a smooth, emulsified paste that loses all the lovely texture. Pulse is your friend here — it gives you control and keeps the dip chunky and appealing.
Step 3: Transfer and Serve
Scrape the dip into a serving bowl. Give it a taste and adjust the seasoning if needed — you may want a pinch more lemon juice for brightness or an extra drizzle of olive oil for richness. Garnish with a few whole parsley leaves, a sprinkle of lemon zest, and a light drizzle of olive oil on top. Serve immediately with warm pita chips, crackers, or crisp fresh vegetables like cucumber spears and bell pepper strips.
💡 Sara’s Pro Tip: For the best flavor, let the dip rest at room temperature for 15–20 minutes before serving. This allows the garlic and herbs to meld with the olives and oil. If you’re making it ahead, bring it to room temperature and give it a quick stir before serving — cold dulls the flavors.
| Step | Action | Duration | Key Visual Cue |
|---|---|---|---|
| 1 | Combine all ingredients in food processor | 1 minute | Olives, capers, garlic, lemon, parsley, and oil all in the bowl |
| 2 | Pulse until coarsely chopped | 30–45 seconds | Visible olive pieces; mixture holds together but is not smooth |
| 3 | Transfer to bowl, garnish, serve | 1 minute | Dip mounded in bowl, garnished with parsley and olive oil |
Serving & Presentation
This easy olive spread is incredibly versatile and works for everything from a casual weeknight snack to a show-stopping party appetizer. I love serving it in a shallow bowl, spread evenly with the back of a spoon, then drizzled with a little more olive oil and sprinkled with flaky sea salt and lemon zest. A few whole parsley leaves on top add a pop of green that makes the dish look stunning with zero extra effort. For a NYC-worthy presentation, I sometimes add a handful of Castelvetrano olives around the edge of the plate alongside the dip — it gives guests something to nibble on and reinforces the Mediterranean vibe.
When it comes to what to dip, the options are endless. Warm pita triangles are my go-to — I brush them with olive oil and toast them in a 375°F oven for 5 minutes until they’re golden and crisp. Crunchy cucumber spears, bell pepper strips, and cherry tomatoes are excellent for a lighter, gluten-free option. I also love spreading this dip on crostini and topping it with a sliver of roasted red pepper or a little crumbled feta cheese for an elevated hors d’oeuvre. In my cooking classes, I tell students to think of this dip as a Mediterranean canvas — it pairs beautifully with grilled meats, roasted vegetables, or even as a sandwich spread.
| Pairing Type | Suggestions | Why It Works |
|---|---|---|
| Side Dish | Grilled lamb chops, roasted chicken, seared fish | The briny, herbal dip cuts through rich proteins and adds brightness |
| Sauce / Dip | Pita chips, crackers, cucumber spears, bell pepper strips | Crisp, neutral vehicles let the olive flavor shine |
| Beverage | Crisp white wine (Sauvignon Blanc), dry rosé, cold beer | Acidic, refreshing drinks balance the salt and richness |
| Garnish | Extra parsley, lemon zest, flaky sea salt, olive oil drizzle | Adds visual appeal and a fresh pop of flavor |
Make-Ahead, Storage & Reheating
One of the things I love most about this green olive appetizer is how well it keeps. In my busy NYC life, I often make a batch on Sunday afternoon to have on hand for quick snacks, lunchbox additions, or last-minute guests. The flavors actually deepen and meld after a day in the fridge, so it’s a perfect make-ahead recipe. Here’s everything you need to know about storing and refreshing this dip.
| Method | Container | Duration | Reheating Tip |
|---|---|---|---|
| Refrigerator | Airtight container (glass preferred) | Up to 5 days | Bring to room temp for 20 min, stir, add fresh olive oil drizzle |
| Freezer | Freezer-safe jar or container, leave 1/2-inch headspace | Up to 3 months | Thaw overnight in fridge, stir well, add fresh herbs to revive |
| Make-Ahead | Same as refrigerator | Up to 2 days in advance | Make fully, store tightly covered, add garnish just before serving |
If you’re storing the dip in the refrigerator, press a piece of plastic wrap directly onto the surface before sealing the lid — this prevents the top from darkening due to oxidation. When you’re ready to serve, let it sit at room temperature for about 20 minutes, then give it a good stir and taste. You may want to add a splash of fresh lemon juice or a drizzle of olive oil to wake up the flavors. For freezing, portion the dip into small containers so you can thaw only what you need. I like to add a little fresh parsley after thawing to restore that bright herbal note.
Variations & Easy Swaps
This green olive dip recipe is endlessly adaptable, and I love experimenting with different flavor profiles depending on the season or what I have in the fridge. Here are three of my favorite variations, each tested in my NYC kitchen until they were just right.
| Variation | Key Change | Best For | Difficulty Impact |
|---|---|---|---|
| Spicy Green Olive Dip | Add 1/2 jalapeño (seeds removed) + pinch red pepper flakes | Those who like heat; pairs well with grilled meats | Easy |
| Creamy Green Olive Dip | Add 1/4 cup Greek yogurt or cream cheese | Milder, creamier texture; great for kids | Easy |
| Herb-Rosemary Green Olive Dip | Add 1 tsp fresh rosemary + swap half the parsley for fresh mint | Earthy, aromatic profile; ideal for fall and winter | Easy |
Variation 1: Spicy Green Olive Dip
For a version that packs a little heat, add half a jalapeño pepper (seeds and membranes removed unless you want serious fire) and a generous pinch of red pepper flakes to the food processor along with the other ingredients. The jalapeño brings a fresh, vegetal heat that plays beautifully against the briny olives, while the red pepper flakes add a slow-building warmth. This variation was inspired by the harissa-spiced dips I grew up eating in Morocco — a little fire makes everything more exciting. Serve it with crunchy raw vegetables or grilled flatbread for a snack that wakes up your whole palate.
Variation 2: Creamy Green Olive Dip
If you prefer a milder, more spreadable texture, add 1/4 cup of full-fat Greek yogurt or room-temperature cream cheese to the food processor after the initial pulse. Pulse two or three more times just to incorporate — you want the dip to be creamy but still have visible olive pieces. The yogurt adds a tangy, cooling element that softens the brininess of the olives, making this version especially popular with kids and guests who are new to olive-based dips. I like to serve this creamy variation on crostini with a dollop of tapenade on top for a two-tone appetizer that looks as good as it tastes. It’s also fantastic as a sandwich spread — try it on a turkey and roasted red pepper sandwich for a lunch that feels like a vacation.
Variation 3: Herb-Rosemary Green Olive Dip
This version leans into the aromatic side of the Mediterranean. Add 1 teaspoon of fresh chopped rosemary and swap half the parsley for fresh mint leaves. The rosemary brings a piney, slightly floral note that pairs beautifully with the green olives, while the mint adds a cool, refreshing finish. I developed this variation during a particularly gray New York winter, craving the bright, herbaceous flavors of spring. It’s wonderful served with roasted lamb or as a spread on a warm baguette with goat cheese. The rosemary-mint combination is a classic French pairing that I learned during my time at culinary school in Paris — it’s elegant, unexpected, and absolutely delicious.
How do you make green olive dip from scratch?
Making green olive dip from scratch is incredibly simple and takes just about 5 minutes. You’ll need 1 cup of pitted green olives, 2 tablespoons of drained capers, 2 minced garlic cloves, 1/2 teaspoon of lemon zest, 2 tablespoons of fresh lemon juice, 1/4 cup of fresh parsley leaves, and 1/4 cup of extra-virgin olive oil. Combine all the ingredients in a food processor and pulse until coarsely chopped — you want the texture to be rustic and chunky, not smooth. Scrape down the sides once or twice during pulsing to ensure even mixing. Transfer to a serving bowl, garnish with a drizzle of olive oil and a few parsley leaves, and serve with pita chips, crackers, or fresh vegetables. The key is to use good-quality olives and olive oil, and to let the dip rest at room temperature for 15 minutes before serving to allow the flavors to meld.
What can I use as a substitute for green olives in this dip?
If you don’t have green olives, you have several excellent substitution options depending on the flavor profile you’re after. Kalamata olives are the best all-purpose substitute — they’re also brined but have a deeper, more intense flavor and a darker color. Rinse them briefly to remove excess brine before using. For a milder, buttery option, try Castelvetrano olives (which are actually green, but if you’re out, any brined olive will work). Manzanilla olives are another good choice with a similar texture. If you want to avoid olives entirely, you can use sun-dried tomatoes (rehydrated in warm water for 10 minutes) combined with an extra tablespoon of capers for a different but still delicious Mediterranean-style spread. Just note that the flavor will shift significantly — it will be more tangy and sweet than briny and savory.
How long does green olive dip last in the refrigerator?
Green olive dip will keep beautifully in the refrigerator for up to 5 days when stored properly in an airtight container. Glass containers are ideal because they don’t absorb odors. To maximize freshness, press a piece of plastic wrap directly onto the surface of the dip before sealing the lid — this prevents oxidation, which can cause the top layer to darken. The flavors will actually deepen and meld after a day or two in the fridge, making this a fantastic make-ahead recipe. When you’re ready to serve, bring the dip to room temperature for about 20 minutes, then stir well and taste. You may want to add a small splash of fresh lemon juice or a drizzle of olive oil to brighten the flavors, as refrigeration can mute them slightly. I do not recommend leaving the dip at room temperature for more than 2 hours for food safety reasons.
What do you serve with green olive dip?
Green olive dip is incredibly versatile and pairs well with a wide range of dippers and accompaniments. My top recommendations are warm pita triangles (brush with olive oil and toast at 375°F for 5 minutes), sturdy crackers like water crackers or rosemary flatbreads, and fresh vegetable crudités such as cucumber spears, bell pepper strips, cherry tomatoes, and snap peas. For a more substantial appetizer, spread the dip on crostini and top with roasted red pepper strips or crumbled feta cheese. It also works beautifully as a condiment for grilled lamb chops, roasted chicken, or seared fish. In my NYC cooking classes, I often serve it alongside a mezze platter with hummus, baba ganoush, and stuffed grape leaves for a Mediterranean feast that guests love.
Can I make green olive dip ahead of time?
Absolutely — this green olive dip is actually better when made ahead of time. I recommend making it 1 to 2 days in advance for the best flavor development. The garlic, herbs, and lemon have time to meld with the olives and oil, creating a more cohesive and complex taste. Simply prepare the dip according to the recipe, transfer it to an airtight container, press plastic wrap onto the surface, and refrigerate. When you’re ready to serve, let it sit at room temperature for 20 to 30 minutes, give it a good stir, and adjust the seasoning with a little fresh lemon juice or olive oil if needed. Garnish with fresh parsley and lemon zest just before serving to restore the bright, fresh appearance. This make-ahead strategy is perfect for parties, holiday gatherings, or busy weeknights when you want a homemade appetizer with zero last-minute effort.
Is green olive dip healthy?
Yes, green olive dip is a very healthy option, especially when compared to creamy dips made with mayonnaise or sour cream. Green olives are rich in monounsaturated fats, which are heart-healthy and help reduce inflammation. They also contain vitamin E, iron, copper, and dietary fiber. Capers add antioxidants and are very low in calories. The extra-virgin olive oil provides additional healthy fats and polyphenols, while fresh parsley and lemon juice contribute vitamins A, C, and K. A typical 2-tablespoon serving of this dip contains approximately 80–100 calories, with most of the calories coming from healthy fats. It’s naturally gluten-free, vegetarian, and low-carb, making it suitable for a wide range of dietary preferences. If you’re watching your sodium intake, you can rinse the olives and capers before using to reduce the salt content.
Can I freeze green olive dip?
Yes, green olive dip freezes surprisingly well for up to 3 months. The high oil content helps protect the texture during freezing and thawing. To freeze, transfer the dip to a freezer-safe container, leaving about 1/2 inch of headspace to allow for expansion. Press a piece of plastic wrap directly onto the surface before sealing the lid to minimize air exposure. When you’re ready to use it, thaw the dip overnight in the refrigerator — do not try to speed-thaw at room temperature, as this can affect the texture. After thawing, stir the dip well to recombine any separated oil. You may want to add a small handful of fresh chopped parsley and a squeeze of lemon juice to revive the bright flavors, as freezing can slightly mute the herbs and citrus. I like to freeze the dip in small 1/2-cup portions so I can thaw just what I need for a quick appetizer or snack.
What is the difference between green olive dip and tapenade?
Green olive dip and tapenade share a lot of similarities, but there are a few key differences. Traditional tapenade is a Provençal spread from the south of France that typically includes olives, capers, anchovies, and olive oil, and it’s often blended to a smoother, more paste-like consistency. Green olive dip, especially my version, is usually coarser in texture — pulsed rather than fully blended — and often includes fresh herbs like parsley and citrus zest for brightness. My recipe also omits anchovies (though you can add them if you like) and leans more toward the Greek rather than French tradition, with a emphasis on fresh, bright flavors. Both are delicious, but this green olive dip is chunkier, brighter, and more herb-forward than a classic tapenade, making it perfect for dipping and spreading.
How do I make green olive dip without a food processor?
If you don’t have a food processor, you can absolutely make this green olive dip by hand — it will have an even more rustic, artisanal texture that many people actually prefer. Start by finely chopping the green olives, capers, and fresh parsley together on a cutting board using a sharp chef’s knife. Keep chopping and mixing until everything is well combined and the pieces are small, about the size of a pea. Transfer the chopped mixture to a bowl. Mince the garlic very finely and add it along with the lemon zest and lemon juice. Gradually stir in the extra-virgin olive oil until the dip comes together into a cohesive, spoonable consistency. The hand-chopped method takes about 5 to 7 minutes of active chopping time, but the result is a dip with a wonderful, uneven texture that feels handmade in the best way. It’s the method my Moroccan grandmother would have used!
Can I add anchovies to green olive dip?
Yes, you can absolutely add anchovies to this green olive dip, and it’s a wonderful way to deepen the umami and briny flavor. I’d recommend adding 1 or 2 oil-packed anchovy fillets (drained) to the food processor along with the other ingredients. The anchovies will break down completely during pulsing, adding a rich, savory depth without making the dip taste fishy. This addition moves the dip closer to a classic Provençal tapenade, and it’s a technique I learned during my training in Paris. If you’re feeding guests who are unsure about anchovies, don’t tell them — they’ll just wonder why the dip tastes so incredibly good. The anchovies are completely optional, but they do add an extra layer of complexity that takes this Mediterranean olive spread to the next level.
Share Your Version!
I absolutely love hearing how this green olive dip recipe turns out in your kitchen. Did you stick with the classic version, or did you try one of the variations — spicy, creamy, or herb-rosemary? Maybe you came up with your own twist? Drop a comment below and let me know how it went, and don’t forget to leave a star rating if you loved it! Your feedback helps other readers discover and try the recipe, and it truly means the world to me.
If you share a photo on Instagram or Pinterest, make sure to tag @cheerychop so I can see your beautiful creation. I love scrolling through the #cheerychop hashtag on weekends — it’s like having a virtual dinner party with all of you. And if there’s a specific variation you’d like me to develop for a future post, just ask in the comments. I read every single one and take requests seriously. From my NYC kitchen to yours — I hope this recipe brings as much warmth to your table as it does to mine. — Sara 🧡
Love This Recipe? Save It to Pinterest!
If you enjoyed this Green Olive Dip recipe, don’t let it get lost in your browser tabs! 😄 Pin it now so you can find it again anytime — and explore hundreds more tried-and-tested recipes waiting for you on my Pinterest boards.
👉 Follow Sara on Pinterest @chefrecipes2
📌 Pin this recipe · 🔁 Re-pin your favorites · 💬 Tag me when you make it — I love seeing your creations!
⭐️ Made this recipe? I’d love to hear from you!
Drop a star rating below, leave a comment with your twist, or tag me on Instagram @cheerychop. Your feedback helps this little NYC kitchen grow — thank you from the bottom of my heart! 💚
#cheerychop #greenolivedip #mediterraneanappetizer
“`
Print
Green Olive Dip
A zesty, Greek-inspired dip made with green olives, capers, lemon, and parsley, perfect for appetizers or healthy snacking.
- Method: Appetizer
- Cuisine: Mediterranean
Ingredients
- 1 cup green olives, pitted
- 2 tablespoons capers, drained
- 2 cloves garlic, minced
- 1/2 teaspoon lemon zest
- 2 tablespoons fresh lemon juice
- 1/4 cup fresh parsley leaves
- 1/4 cup extra-virgin olive oil
Instructions
- Combine all ingredients in a food processor.
- Pulse until coarsely chopped and well combined, scraping down sides as needed.
- Transfer to a serving bowl. Serve with pita chips, crackers, or fresh vegetables.
Tried This Recipe? Leave a Comment!
Did you make this recipe? I’d love to hear how it turned out! Please leave a comment and a rating below. Your feedback helps other home cooks and supports cheerychop.com!
For more delicious inspiration, follow me on Pinterest!